
8 Assignments

Creating Assignments
The Assignment tool collects a student’s direct submission (entered into the Assignment itself via a text box) or an attachable document/file. There are two ways to create an Assignment submission folder: either by visiting Course Admin > Assessment > Assignments or 2) going to the “Course Content” tab on the main navigation bar. It is strongly recommended instructors use method #2 since those folders are automatically added to Course Content!
Adding an Assignment Submission Folder (from Course Content)
In order to create a new Assignment:
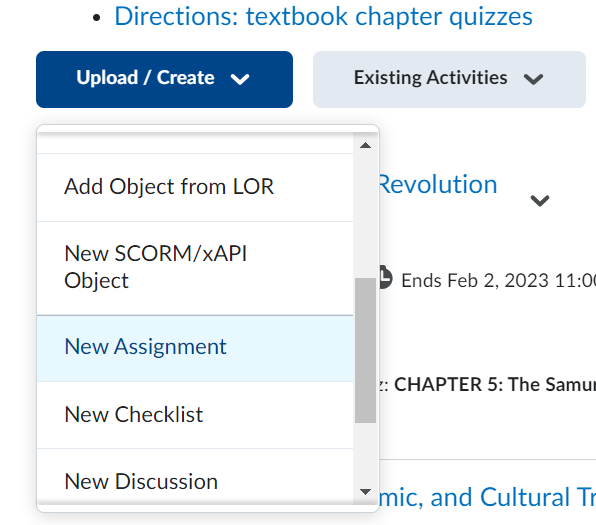
1. Within the appropriate Module click the Upload/Create button and select “New Assignment” from the dropdown menu
2. Provide the following information:
-
- Name: the Assignment’s title
- Grade Out Of: this step can be completed immediately or later on; when a point total is entered then the options for placing the Assignment in the Grade Book appear
- Grade Book options (In Grade Book; Edit or Link to Existing; Not in Grade Book; Reset to Ungraded): you can choose to place the Assignment in the Grade Book, import a previously-created Assignment, leave it out of the Grade Book, or reset the Assignment to ungraded
- Due Date: by when students must have submitted the Assignment
- Instructions: any additional information for successful completion
3. Settings for the “Availability Dates & Conditions,” “Submission & Completion,” and “Evaluation & Feedback” tabs are covered in depth in the Quizzes Chapter of this Pressbook.
Alternatively, you can go to Course Admin > Assessment > Assignments to create submission folders directly through the Assignment tool. However, your submission folders will not appear under Course Content. You will need to go to the Module in which you want to place the Assignment, click the Existing Activities button, and from the action arrow [V] select “Assignments” to import that content.
[SUPPORTING VIDEO FORTHCOMING]
Organizing the Assignments Page
Once a submission folder is created its setting can be edited. There are two elements set by default when an Assignment is created:
-
- Visible: set to “Hidden” automatically so must be changed to “Visible” in order for students to see the Assignment
- Category: set to “None”; to place an Assignment in a Grade Book Category go to Grades > Manage Grade > click on the action arrow [V] associated with the Assignment and choose “Edit” from the drop down menu. Under the Properties tab go to Categories and use the drop down menu action arrow [V] to select a Category that already exists or create a new one
Grading Assignment Submissions
1. The easiest way is to click on Course Admin > Assessment > Assignments
2. The Assignments page has four columns:
- New Submissions: shows the number of new submissions
- Completed: shows the number of students who have submitted the Assignment compared to the number of students on your roster
- Evaluated: shows the number of submissions evaluated compared to the number of students on your roster
- Feedback Published: shows the number of submissions with published feedback compared to the number of students on your roster
3. Select the Assignment to grade by clicking on the action arrow [V] associated with the item and choose “View Submissions” from the dropdown menu
4. The “Users” tab is automatically displayed – organizing submissions alphabetically by a user’s last name; the “Submissions” tab organizes submissions chronologically by submission date and time
5. Clicking on a file submission opens up the evaluation window
Inserting Video or Audio feedback
In addition to written feedback, instructors can use Talon’s Video Note tool to record video feedback!
Instructors can use Video Note for:
-
- creating a new Topic in Content area
- adding a description to a Module or a Topic in the Content area
- creating an Announcement on the Homepage
- providing instructions when creating an Assignment
- giving students feedback in the Gradebook
Students can use Video Note for:
-
- adding comments to uploaded assignments in a Submission folder
- posting a new thread or replying on someone’s thread in Discussion Topic
- composing a Talon email
Limitations
-
- recordings with Video Note are limited to 30 minutes
- recordings posted in Content, Assignments and Discussion Topic details can be copied from course to course
- recordings can’t be captioned
Creating a Video Note
In order to create a Video Note instructors must:
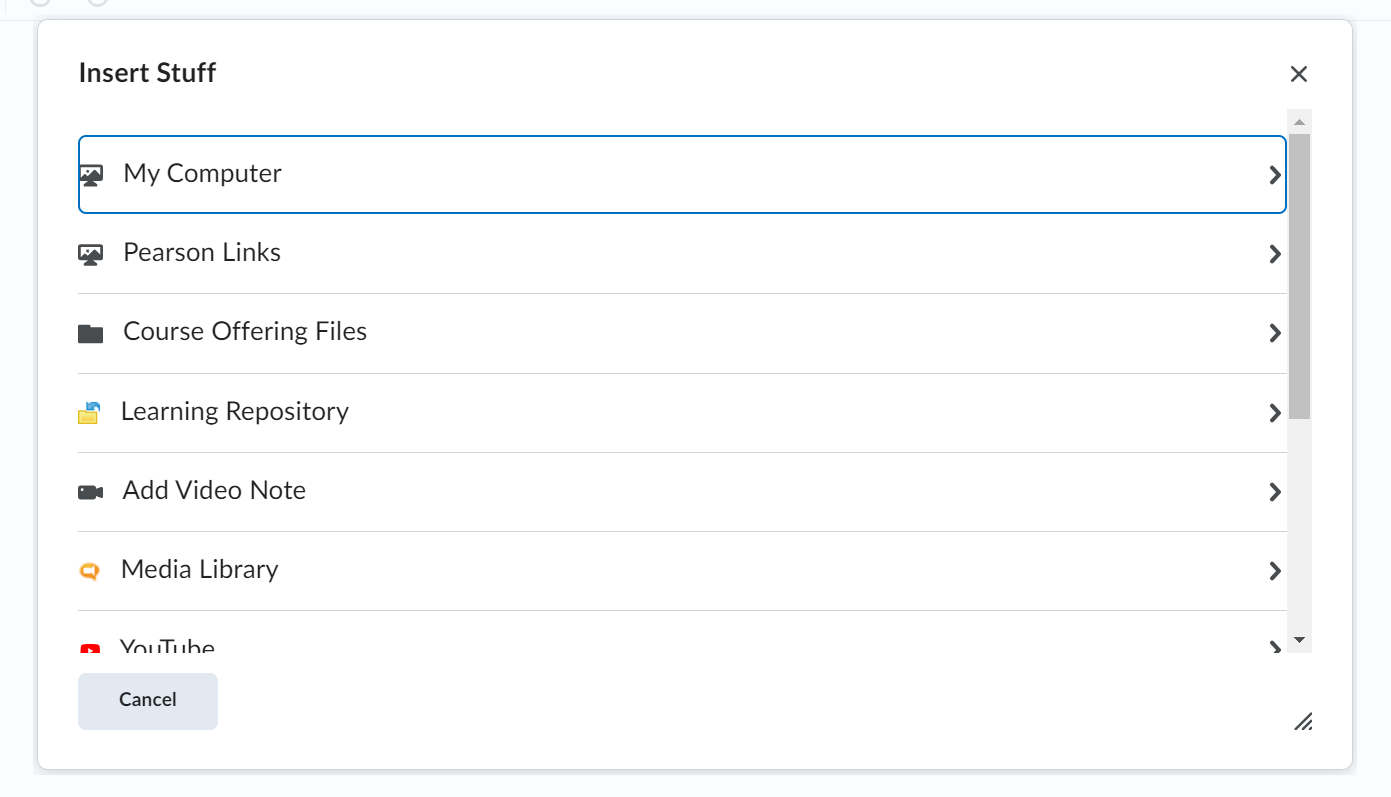
- Click the “Insert Stuff” button from the HTML editor
- Select “Add Video Note” from the “Insert Stuff” pop-up dialogue box
Dependent on a user’s operating system and browser, Video Note will attempt to connect with a camera via the browser. If no camera is detected, users may see a warning asking them to “allow” a connection to be made. (Once this decision is made, it can be remembered by clicking the “Remember this decision” checkbox.)
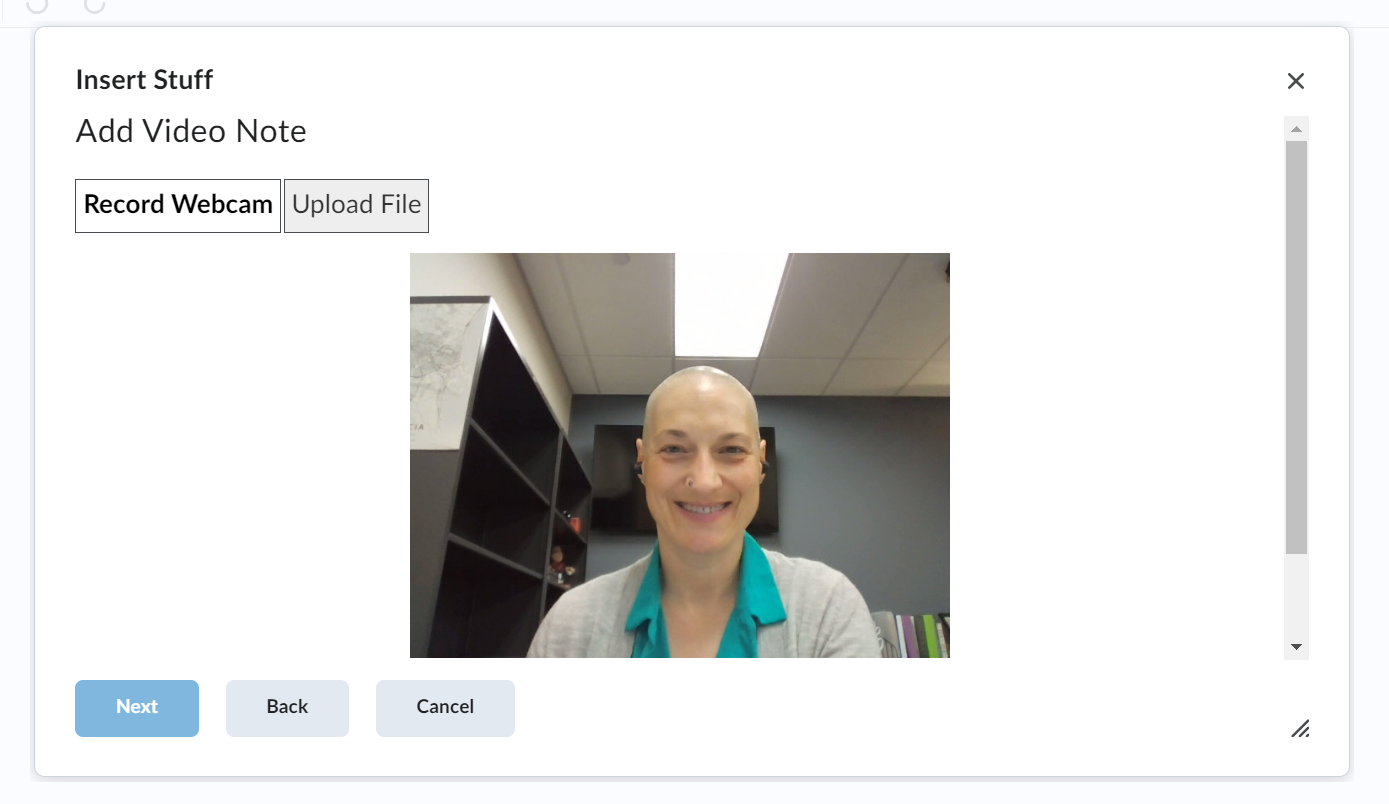
After the webcam image appears, scroll to the New Recording button and click it to start the recording. Up to 30 minutes of recording time is available.
 To stop the recording click the Stop Recording button.

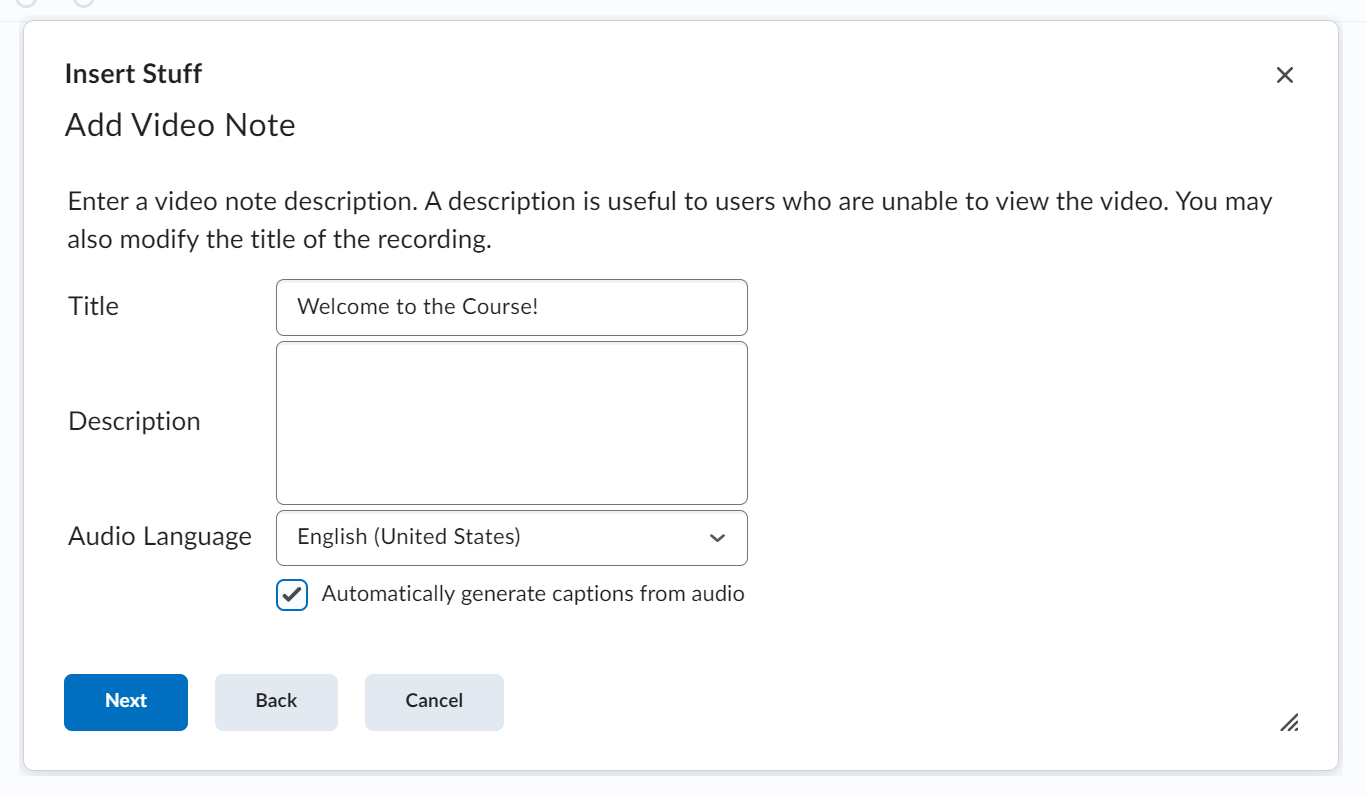
Once a recording is stopped, click the Next button. A processing notice will appear and then a description page. Give the video a description and, if necessary, a title. Click the Next button to move ahead.
Select the Refresh Preview button if you want to preview the video. At this point users can also go back a step by clicking the Back button.
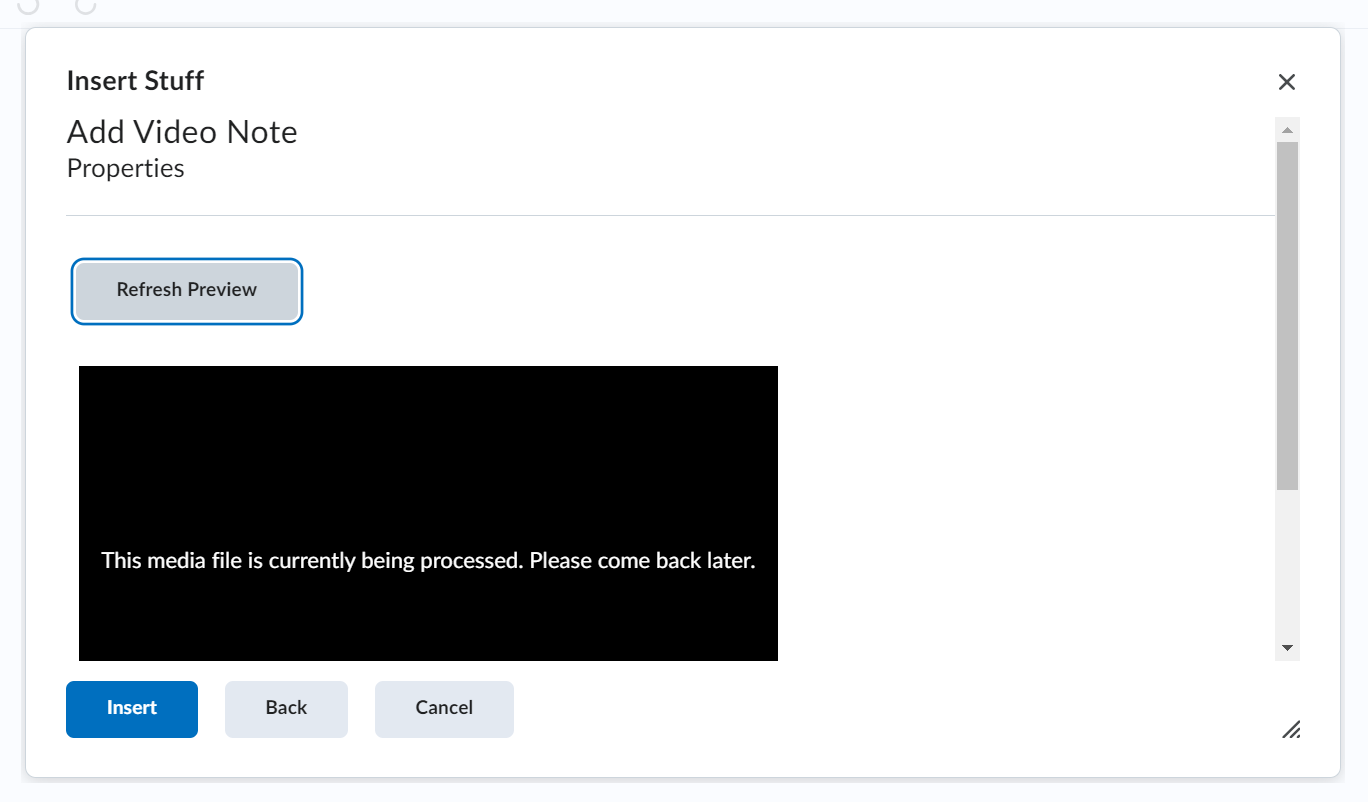
Use the Insert button to place the video into the HTML file where the cursor is located.
Assignment Grader App
D2L has created an Assignment grading app for iOS. For more information visit the Brightspace Assignment Grader for iOS page.
Advanced Assignment Settings
Notifications
Students can receive email notifications if they download the Pulse app.
Special Access
When editing an Assignment instructors can manage “Special Access” to it. This flexibility allows you provide a student (or students) with different start, due, or end dates from those of the rest of the class.
To adjust “Special Access” settings:
1. Enter the Assignment in which you want to alter access settings
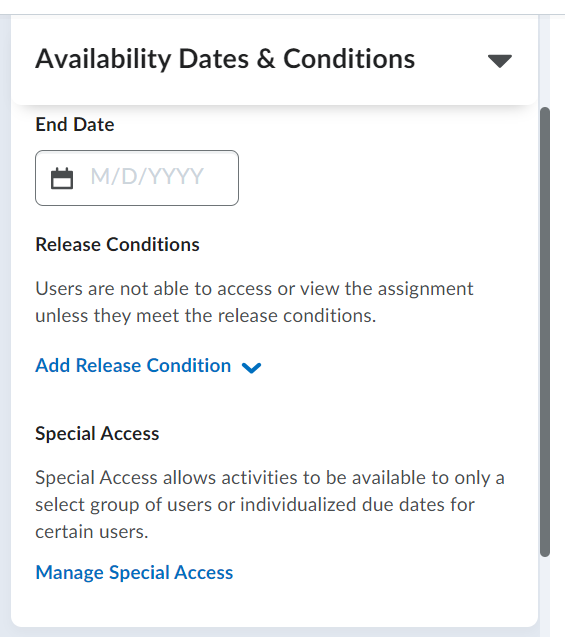
2. Click on the “Availability Dates & Conditions tab”
3. Go to the Special Access section and click on the Manage Special Access link
4. Select the first “Allow” option and click the Save and Close button
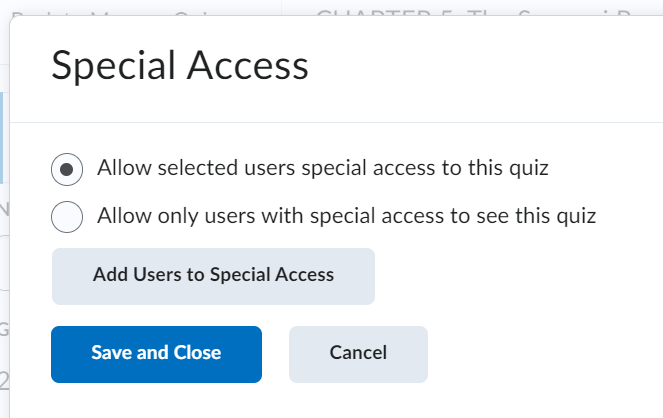
5. Then adjust the dates and select users these changes will be applied to (by clicking on the Add Users to Special Access button)
Filtering Submissions
When grading Assignments, you can use several filters. You can filter by unread submissions, all submissions, and late submissions (and those are just a few of the options). Visit Course Admin > Assessment > Assignments. Click the action arrow [V] next to the folder, and choose “View Submissions” from the dropdown menu.
Here, you can filter your submissions by either the “Users” tab (sharing the submission according to student) or by the “Submissions” tab (sharing the assignment based upon submission order).
Turnitin Originality Checking
Assignment document submissions (.doc, .docx, .pdf, .txt, .rtf) connected to Turnitin’s Originality Checking Service are uploaded to Turnitin servers and scanned for matches in source materials from the Web, in academic journals, or in databases from other colleges and universities.
A report is generated for each submission; a similarity score from 1 to 100 is generated, where a score of 100 means the submission was 100% attributable to one or more sources.
Originality checking is a plagiarism deterrent, but more importantly helps inform students how best to cite sources and maintain originality. Plagiarism resources are available via the Kirkwood Library’s Plagiarism Libguide.
Connecting an Assignment to Turnitin
-
- Click on Course Admin > Assessment > Assignments
- Use the action arrow [V] associated with the Assignment and choose “Edit Assignment” from the drop down menu
- Click on the Evaluation and Feedback tab
- Scroll down to Turnitin Integration and click on the Manage Turnitin link
- Click on the “Enable Similarity Report for this folder” check box
- Click the Save button (within the tab)
- Click the Save and Close button (within the Assignment)
Reviewing Turnitin Similarity Scores
-
- Click on Course Admin > Assessment > Assignments
- Use the action arrow [V] associated with the Assignment and choose “Edit Assignment” from the drop down menu
- A Turnitin Similarity Report is automatically generated
- The in-box icon associated with an Assignment confirms the projects can be checked
- Click the in-box icon to activate a similarity check
- When the process is complete, a percentage-copied marker will appear
Helping Students Find Their Similarity Scores
You can add a custom Talon Tools widget to the Homepage; this Widget gives students direct access to their Assignments, Discussions, and Quizzes list pages.

There is also a Turnitin Widget that provides a direct link to the Assignments page along with a video tutorial (explaining how students can access their similarity scores), a citation guide, and information about plagiarism.
On the Assignment list page, students can click on the feedback link to access their Turnitin Similarity Score. This is especially important if you want students to see their scores on draft assignments before submitting a final version.
Copying Course Content and Turnitin
Turnitin settings copy from one course to another, yet a message will appear in the Course Admin > Assessment > Assignments page reminding instructors to re-enable Turnitin for associated Assignments.
Turnitin Support
You can search Turnitin’s website for additional information; please note that Kirkwood subscribes to the Originality Checking service and not the “Feedback Studio.”
If you have an issue with Turnitin, contact them directly at tiisupport@turnitin.com.
Assignment Feedback Using Annotation
Using Annotations
Instructors can annotate student work directly within the Assignments tool using the Annotation toolbar.
An evaluation toolbar appears at the top of each submission view page and annotation features are included.
To annotate a student’s assignment, click Course Admin > Assessment > Assignments and select a project to evaluate. Once in the Assignment, note the annotation menu; click on the far-left highlighter icon to open the annotation toolbar.
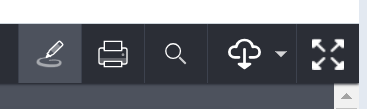
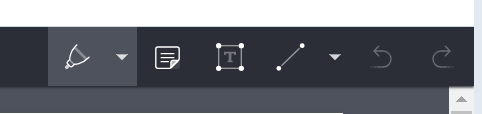
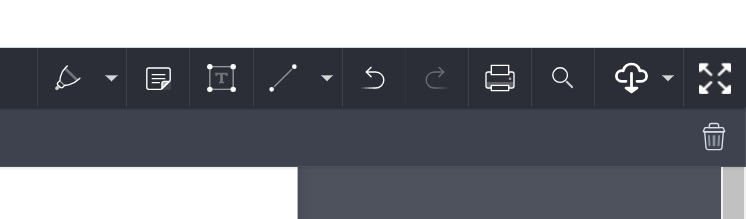
The annotation toolbar features include the ability to: highlight, strike through, or underline content as well as draw freehand. Use the icons to select amongst Pen, Note, Text, and Line. Each tool has options for changing color, font size, font style, and other customizable items.
It’s a best practice to inform students about your annotations by referencing them in the “feedback” area of the Assignment grader; advise them to visit the Grades tab for reviewing written feedback and gaining access to a link for the annotated document.
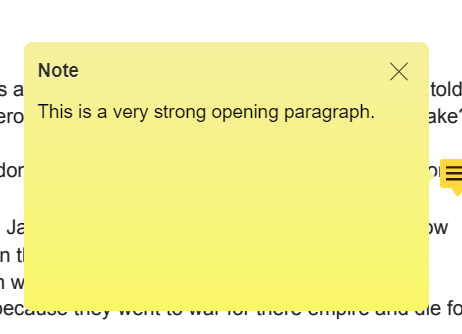
You can place a “Sticky Note” within the Assignment.
To erase an annotation, enlarge the submission to full screen, click on the annotation and select the trash can icon in the upper right-hand corner.
[SUPPORTING VIDEO FORTHCOMING]
Student View
Instructors can direct students to visit the “Grades” tab for viewing written feedback as well as accessing the link for the annotated document. When “View Inline Feedback” is clicked, a new tab opens showing students their annotations.
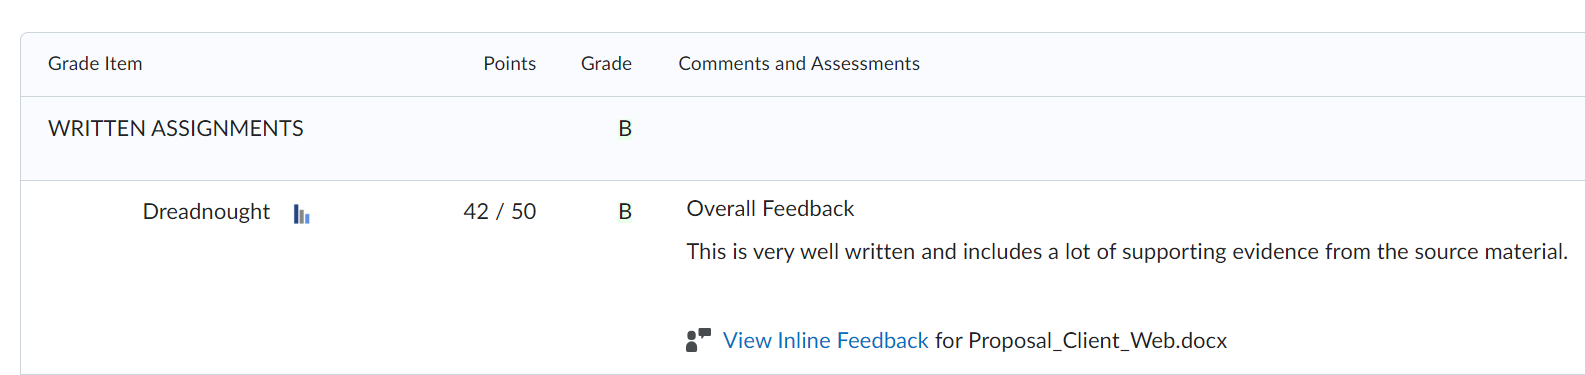
Below is a Student View from Progress > Assignments. Clicking on the “Details” dropdown menu reveals the feedback details.

Using the Video Assignment Tool
To learn more about making video presentations read the Adobe PDF on using the Video Assignment tool.
