
4 The Calendar and Managing Dates

Using the Calendar and Managing Dates
Using the Calendar
Once in a course, you can access the Calendar tool off the main navigation bar on the Homepage. There you will see calendar entries for the course you are currently in; to select entries from another class you teach, click on “All Calendars” and choose a course or the general Kirkwood calendar.
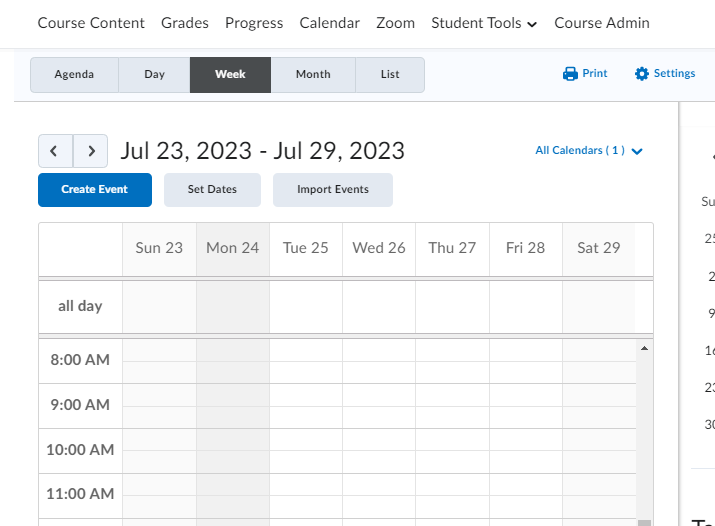
To manually add an entry to the Calendar, click on the date, enter a title and click “Create Event” (this applies to any Calendar view – Day, Week, List – that you select).
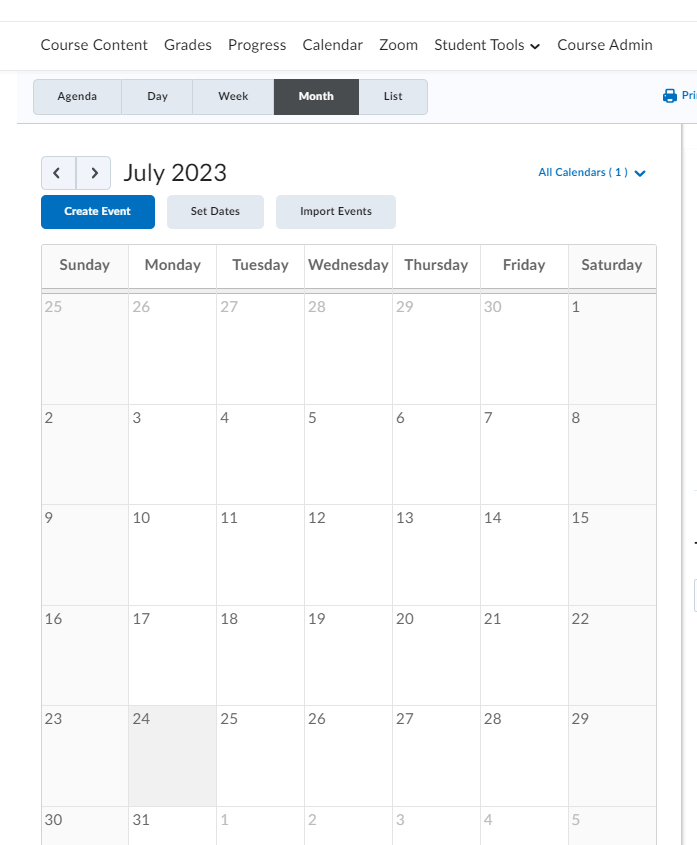
If you are want to set a particular time, or access to additional settings, click “More . . .” in the lower right-hand corner. Here you can add specific times and locations if desired and you will have access to a full HTML editor.
Calendar Sync
You can sync your calendar to Google, Outlook, iOs, Droid, or other calendars through iCal:
1. Click on “Settings” and then check the box to “Enable Calendar Feeds” and save
 2. Click “Subscribe” in the upper right hand corner
3. Copy the link and paste it into your Calendar app in order it with the Talon Calendar tool
For additional information watch this video on Calendar entries.
Manage Dates Tool
The Manage Dates tool (Course Admin > Site Setup > Manage Dates) can be used to set availability dates, in one location, for all Content Topics and activities in a course. This tool also lets you offset dates (move entries from one semester to another) in bulk, too. However, due dates for discussion topics can only be changed from the individual Content Topic itself in the Course Content area.
To access the Manage Dates tool click on Course Admin > Site Setup > Manage Dates.
Scroll down and you will see your course topics and activities with start, end, and due dates.

Clicking “Bulk Edit Dates” allows you to edit the dates for all the course Content Topics and events simultaneously. You can edit individual elements by clicking on the action arrow [V] associated with the title of interest.
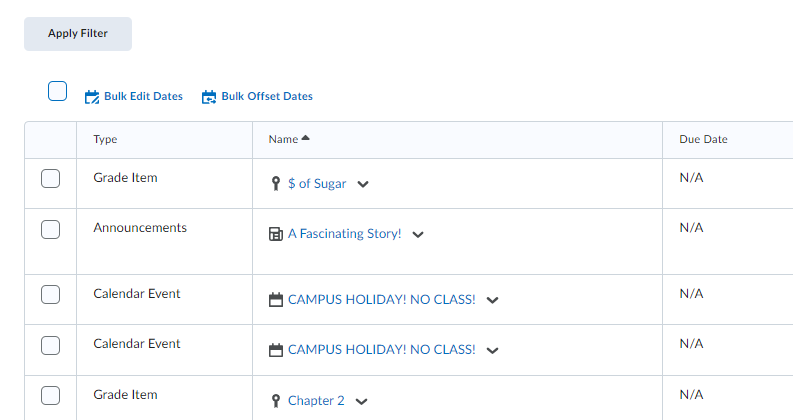
Clicking “Bulk Offset Dates” allows you to edit due dates – moving them either forward or backward in time; this is especially useful when copying a course from a previous semester. However, when offsetting dates from one semester to another, Talon does not account for holidays of school breaks.
Use the “Filter by Tool” option to select which tools you want to adjust – either “All” or “Specific Tools.” Once those are chosen, scroll down and click the Apply Filter button, check the box beside “Bulk Edit Dates” and then click “Bulk Offset Dates.”

You are given the following options:
-
- Dates to Offset: choice to offset due, start, and end dates
- Offset by direction and range: to allow for moving dates forward or backwards in time and whether this is by days or hours
- Calculate range between two dates: to determine correctly how many days to enter for changing date settings
Setting Availability Dates
Setting availability dates is as much about communicating with students as it is controlling access to materials. Dates can be set on individual Content Topics or on entire Modules. There are 3 types of dates you can set:
-
- Start Date: the first day a Content Topic is available; before this date, the item will NOT be available to students
- End Date: the last day a Content Topic is available; after this date, the item will NOT be available to students
- Due Date : the last day a Content Topic can be submitted; the due date does not affect availability for students; assignments submitted after the due date will be flagged as late
However, Items and Modules with start and end dates still appear to students – they are just not able to access any material.
So if you need to hide content, use Draft Mode or Conditional Release. (Remember, you can always click your name in the upper right-hand to obtain the “View as Student” preview.)
You can set availability dates for entire modules or for individual Content Topics. It is recommended to add dates to individual Content Items rather than Modules because it is easier for students to track deadlines using the Calendar tool than Modules.
To add dates at the Module level, click on the arrow next to the name of the topic or module and click the “Add dates and restrictions . . .” link.
To add dates at the topic level, click “Edit Properties in Place” and “Add Dates and Restrictions.”
