
6 Accommodations and Accessibility

Accommodations and Accessibility
Additional Kirkwood Resources
Visit the Pressbook, Kirkwood Faculty Training, to learn specific steps you can to make PowerPoint, WORD, and PDF material more accessible to all students.
Accommodation Settings
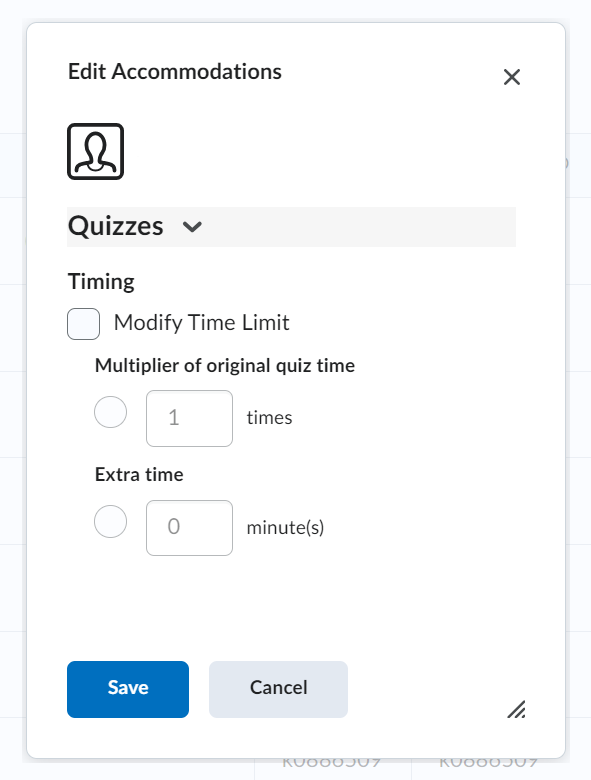
Instructors can grant accommodations through the Classlist tool (Course Admin > Learner Management > Classlist). Once granted, these accommodations apply to all Quizzes in a course for that particular learner.
Quiz-specific overrides provide an accommodation for any user on a Quiz-by-Quiz basis. When you overwrite an accommodation and click the Save button, a warning describing the impact of overwriting an accommodation appears.
-
- Navigate to the course > Course Admin > Classlist
- Click the action arrow [V] next to the student’s name and select “Accommodations”
- Enter the settings and Save.
Accommodation options currently available include:
-
- Timing: time allotted to take a quiz can be modified in terms of time multipliers (for example, 1.5x quiz time) or +minutes (for example, an additional 30 minutes)
- Controls: the right-click restriction in quizzes prohibits students from using the right-click feature of their mouse while taking a quick
PPT Accessibility
To learn more about making PowerPoint presentations accessible, visit WebAIM’s tutorial.
Correcting Automatic Closed Captioning Using YouTube
All videos used in your course are required to have closed-captioning.
YouTube has great automatic closed-captioning tools, but you have to check the captions for accuracy. How can you address the accuracy of YouTube’s closed-captions?
1. Literally, the first step is creating a YouTube account and uploading the video file to that account; need to learn more? Visit this tutorial on Uploading a video in 2020
2. Once the file is uploaded, click your initials icon in the upper right corner of the YouTube page and select YouTube Studio
3. In Your Channel menu on the left, click on Subtitles
4. Click on the video in which you want to create or correct captions
5. To edit the automatic captions, click on the three-dot options menu at the far right under the Subtitles column and choose Edit in Classic Studio
6. Click the “Edit” button above the video at the right of the screen
7. Now you can edit any text within the boxes at the left. If extensive corrections are needed, be careful to not add too much text to any one line. The time at the left indicates when in the video the caption will display
8. Use the video playback to verify your captions are accurate and properly timed
9. Once you have made all your corrections, click the Save Changes button at the upper right
10. If you get the message “Overwrite existing subtitles” choose “Publish”
